


How to DIY Fire Pit Area

Hello, everyone! We hope you enjoyed your labor day weekend.
The leaves are turning red and gold, the nights are cooling down, and the stars are big and bright. You know what that means. It’s bonfire season!
This time of year has us craving S’mores and roasted hot dogs by the fire, ghost stories, and a couple of close friends. If you have been wanting a quality fire pit area on your back yard, but aren’t sure just where to begin- we have curated an easy DIY tutorial to spark some ideas!
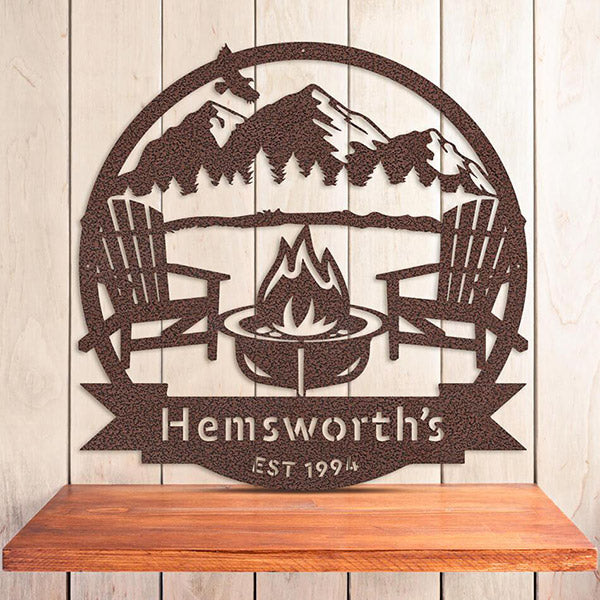
Our “Camp Fire Monogram” in Penny Vein gives all the cozy bonfire vibes. This handcrafted, artisanal metal monogram decor piece is made here in Texas and will withstand years of great outdoor use with a baked powder coating for all your weather-resistant worries. Personalized with your text choice, this stunning piece of custom art is complete with captivating flames, mountain range detail, and a soaring eagle—this a fan-favorite! If you cannot have a fire pit, we suggest investing in bringing this piece into your home and placing it neatly above the fireplace as fall decor!
TOOLS
- Rake
- Shovel
- Bricks
- Stones
- Rocks
- Spray Paint
- Gloves
- Level (recommended)
- Weather-proofSteel Decor
- Outdoor Chairs or Seating
STEP ONE: SELECT THE PERFECT LOCATION
The first step to any project is, of course, is to make sure you have approval! Once you have the go-ahead and are up to date on codes, it’s time to choose the location. To find the best site, we recommend a spot that is the most level and not too close to low hanging trees. You can either go with a round or square shape! Rake the area clean, and use some spray paint to mark the location. Measure to know how many bricks to purchase.STEP TWO: DIG YOUR HOLE
Dig an indention about 2 feet deep using a level to ensure the base is flat and level all around. Use sand or dirt to level the floor of your firepit and make sure it is compacted by stepping on it. Now that you have a base, it is time for the foundation!STEP THREE: BUILD THE FOUNDATION
Use your larger Concrete Bricks to start the foundation of your new fire pit. If you are making a round pit, use trapezoid bricks that overlap and fit snuggly all around. For square firepits, use rectangular bricks and stack them in any formation you like!STEP THREE: STACK THE BRICKS
Layer your bricks and stones to build your fire pit about 12 inches high! You can use all sorts of fire bricks to use creative liberty here. When you reach the top, leave small gaps between the bricks to allow for ventilation.STEP FOUR: FILL WITH GRAVEL
Fill the bottom of your new fire pit with a little bit of gravel or small rocks to complete the installation by allowing water drainage. Now it’s time for decorating your hang-out space.STEP FIVE: DECORATE YOUR SPACE
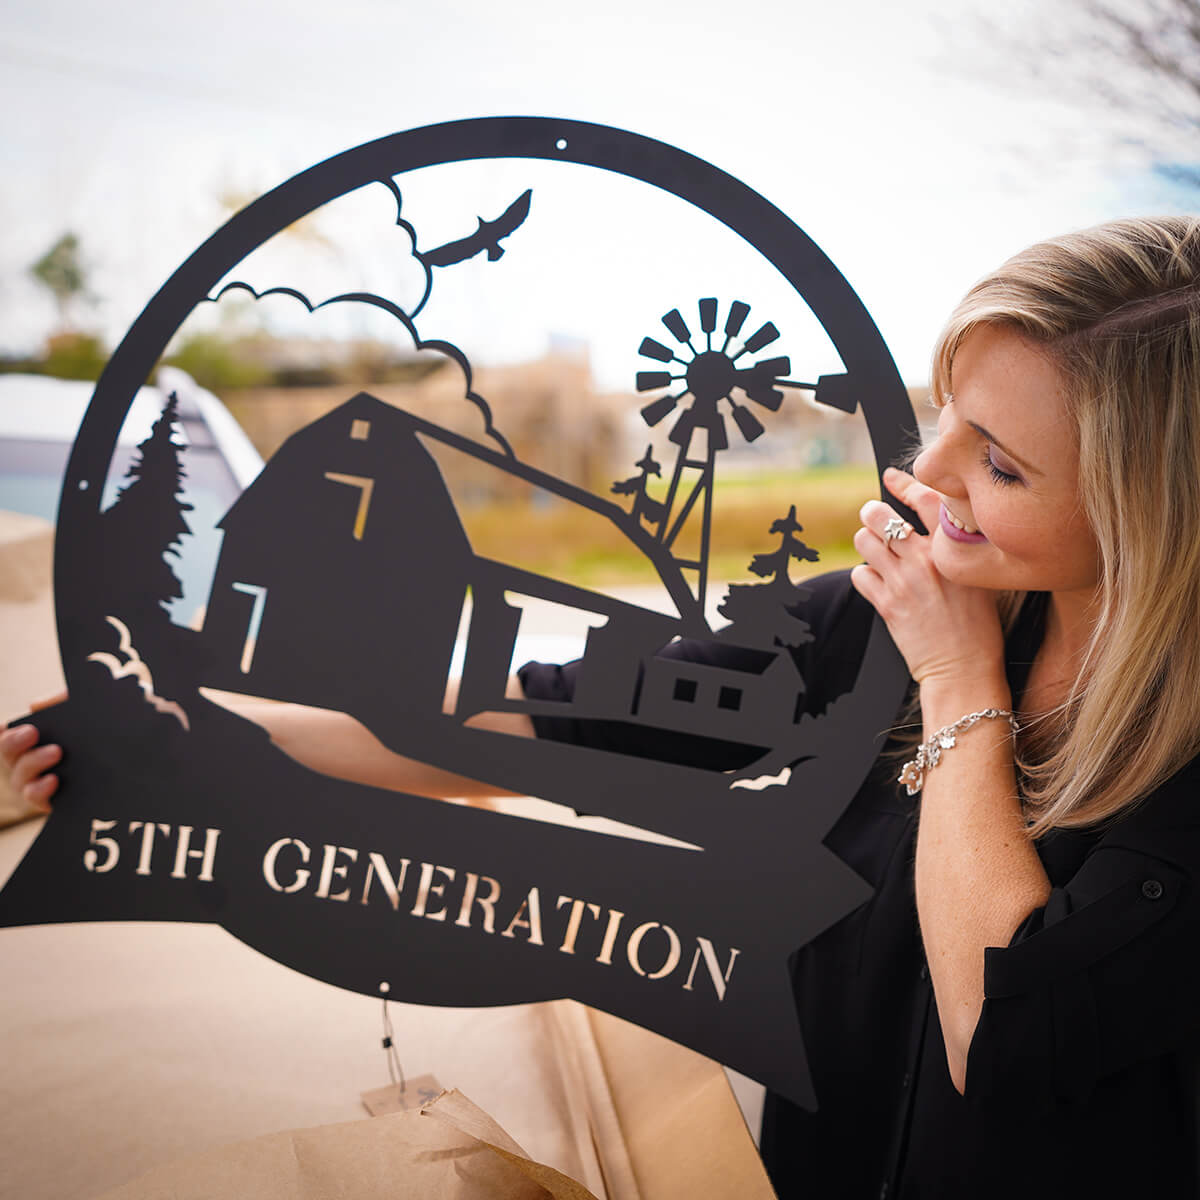
Decorate your space by adding some seating and outdoor steel art decor. You can use any of your favorite weatherproof pieces to add a touch of personal style and aesthetic. We love using tree stumps or outdoor wooden lounge chairs to keep the bonfire vibes going.That’s it! Your outdoor space is complete.
Grab the marshmallows and enjoy your new Fire Pit! If you can’t create your own, try hanging our “Camp Fire Monogram” and enjoy some hot cocoa to bring to coziness to your home.